Wive: Fresh air with style

Fresh air with style
The task of an intake vent is to bring in fresh air into the house, and each room needs at least one intake vent. Check out our videos on installing, wallpapering, painting and changing the filter.


Installing the VILPE Wive
You can easily install the VILPE Wive yourself. Follow our step-by-step installation instructions and the installation will be done in no time: all you need is a drill and a saw. If there are no existing openings for the vent, a hole saw will also be required.
1
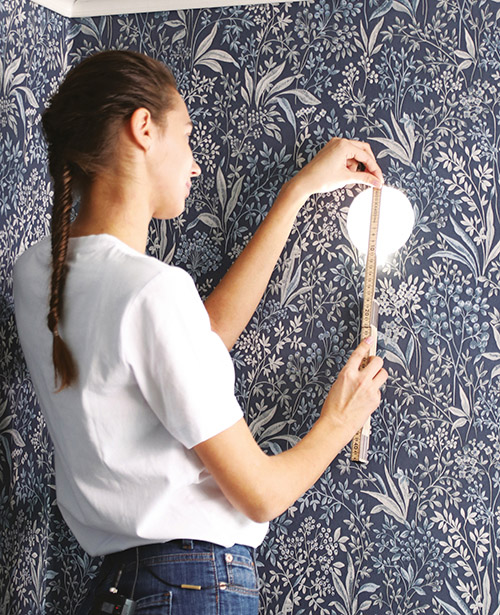
Place the intake vent near the ceiling
First, drill a Ø 105 mm hole in the wall. When deciding on the placement of the intake vent, you should consider wall structures and house technology such as electrical wiring. Also make sure that the air will be able to easily flow into the room–for instance, avoid placing the vent behind curtains or drapes.
If you want to replace an old intake vent with the VILPE Wive, make sure that the hole is at least 105 mm and remove the old vent. If the old pipe is in good condition, you do not need to replace it.
2

Assemble the pipe and press it into the wall
Assemble the pipe. The VILPE Wive pipe is made up of three parts, but you do not necesarily need to use all of them. For example, for this house, we used two pipe parts.
If your wall is thicker than 440 mm, you will need to purchase additional pipe parts.
Assemble the parts needed and carefully insert the pipe into the opening. The pipe needs to fit completely inside the opening in the wall.
Insert the pipe from the inside; the narrow end goes first.
3
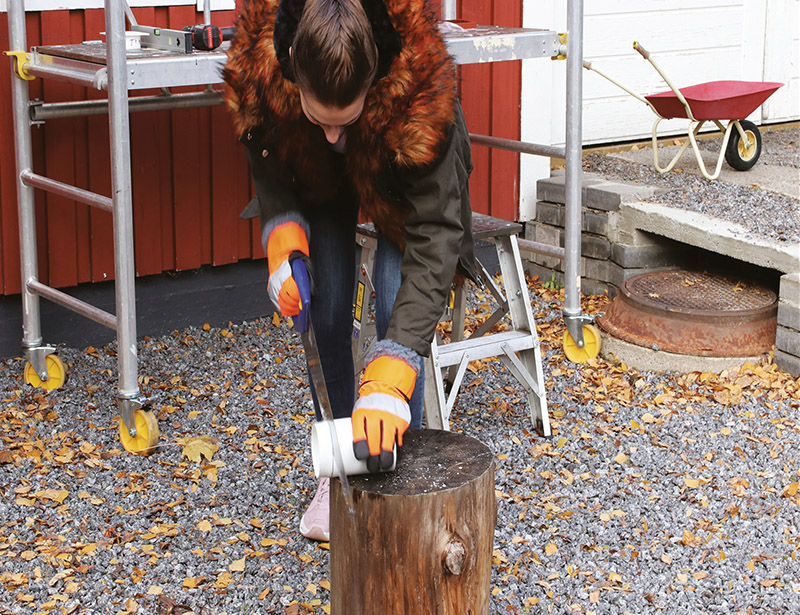
Cut the pipe to fit the wall
You need to cut the pipe to length in order to fit the thickness of the wall. Mark the excess part of the pipe with a pen.
Insert the cut pipe into the opening from inside the house.
4
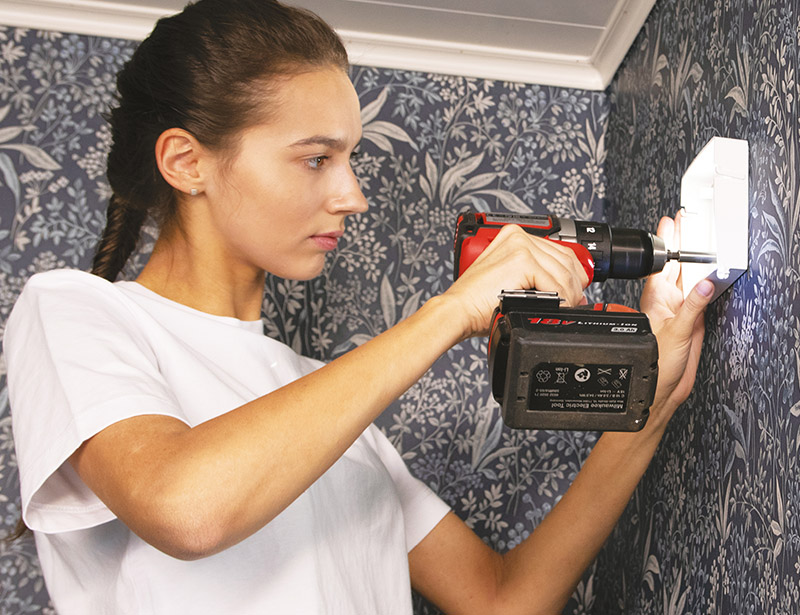
Install the vent case onto the inner wall
Install the vent case onto the inner wall using the screws in the package. The case has been placed correctly when its two small cover holders point downwards. Use a spirit level to get the case straight.
5
Assemble the filter and tie it to the vent
Assemble the filter. If you are also installing a silencer, place it on the round plastic part. The silencer has been placed correctly when the lighter-coloured side faces inwards.
Assemble the support structure of the intake vent by attaching the two metal parts to the small holes inside the round plastic part. The metal parts should cross one another. Pull the filter over the support structure and tie it with a rubber band. The correct place for the rubber band is the inset of the metal parts, not the plastic part.

6
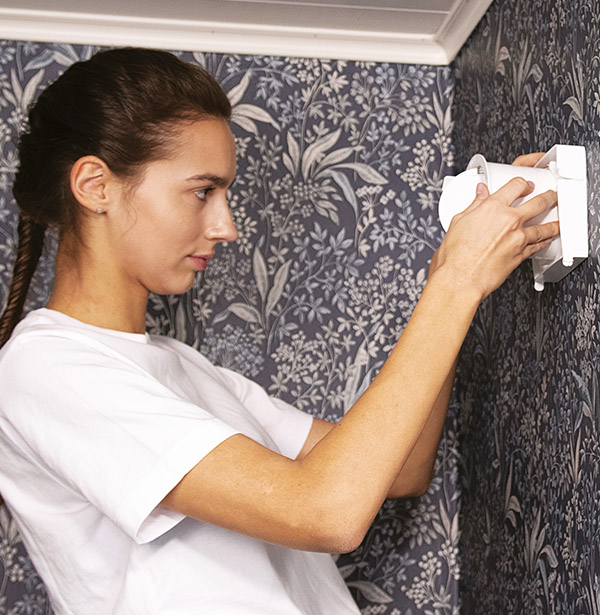
Insert the whole assembly into the wall
Insert the intake vent and the filter into the wall and attach it to the case.
Make sure you hear a clicking sound. This means that the intake vent has been properly attached.
7
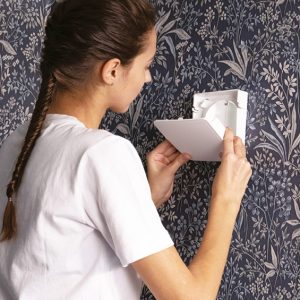
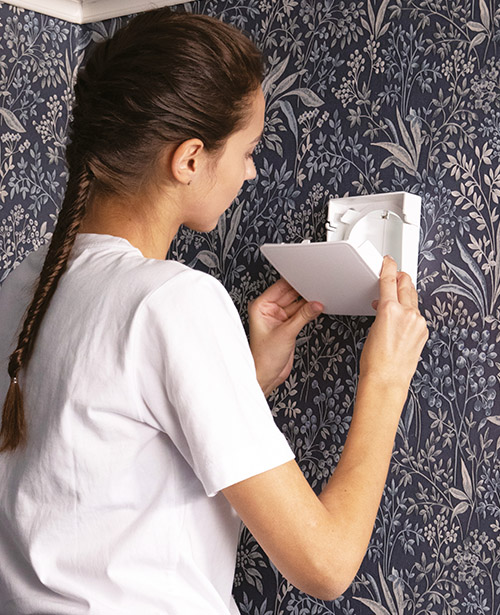
Attach the cover
Now you can attach the cover. Attach it using the cover holders on the case. Make sure you hear a clicking sound.
Adjust the cover according to your needs: a larger room will need more air. If the outdoor air is cold, you might want to keep the cover’s opening slightly narrower.
8

Attach the grill to the outdoor wall
The multifunction grille consists of two parts, the frame and the grille (i.e. the cover). Attach the frame to the wall with the screws in the package. Use a spirit level to make sure it is straight.
Next, attach the grille to the frame. Start attaching from the upper corners and press the grille into place.
Wallpapering the VILPE Wive
An intake vent affects the visual feeling of a room. If the white intake vent does not fit the interior of the room, you might want to cover it in wallpaper to match the room’s wallpaper. Check out our instructions on wallpapering the VILPE Wive:
1
Cut out a piece of wallpaper
Start by cutting out a piece of wallpaper. The piece should be approximately 5 cm bigger than the cover of the Wive on each side.
If the wallpaper has big and/or symmetrical patterns, you will need to adjust the wallpaper piece so that it fits the wallpaper on the wall. If the wallpaper pattern is rather small or not patterned, you do not need to adjust it in this way. In our film and photo guide, we did not adjust the wallpaper piece to match the wall pattern.

2
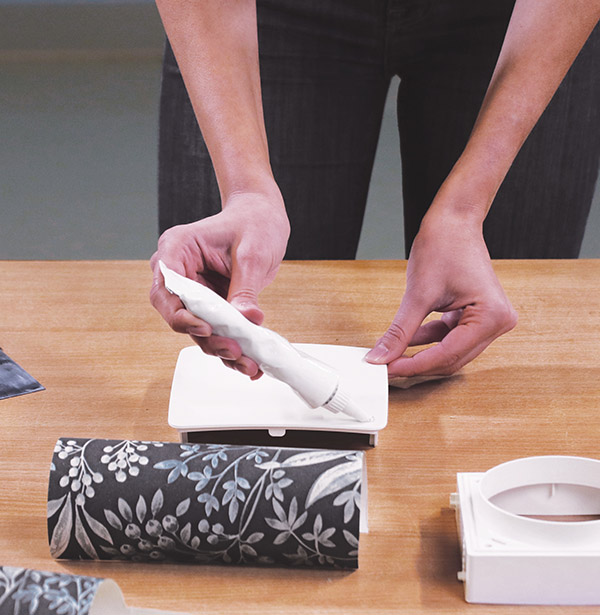
Spread glue over the cover
Wipe off any possible dirt or dust from the cover. Place a small amount of glue on the cover and spread it evenly: a thin layer is enough, as too much can soak the wallpaper. Make sure you also place glue on the edges and corners.
The glue must be suitable for hard plastics and can be found in most hardware stores. Common glues, such as wallpaper glue or wood glue, will not adhere to the plastic.
3
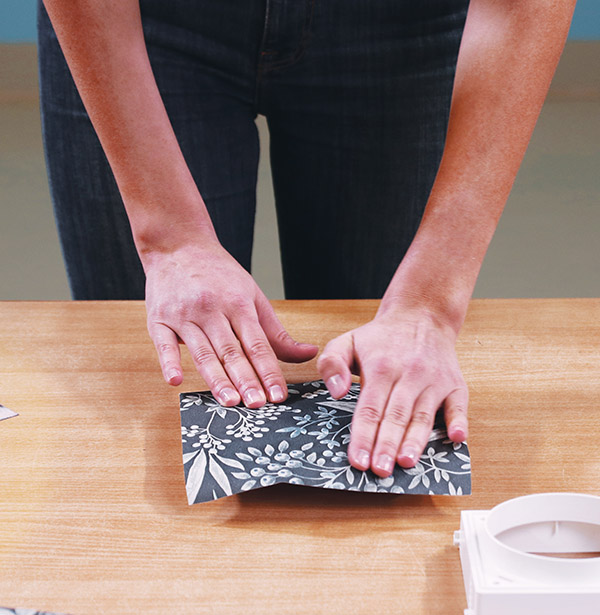
Place the wallpaper on the cover
Place the wallpaper piece over the cover and carefully press on it to attach it. Pay special attention to the edges and corners.
4
Let the cover dry
Place a weight over the wallpapered cover and let the glue dry. The weight should adjust to the shape of the cover: a towel, for instance, will work.
When the glue is dry, you might need to glue difficult parts, such as the corners, again.
5
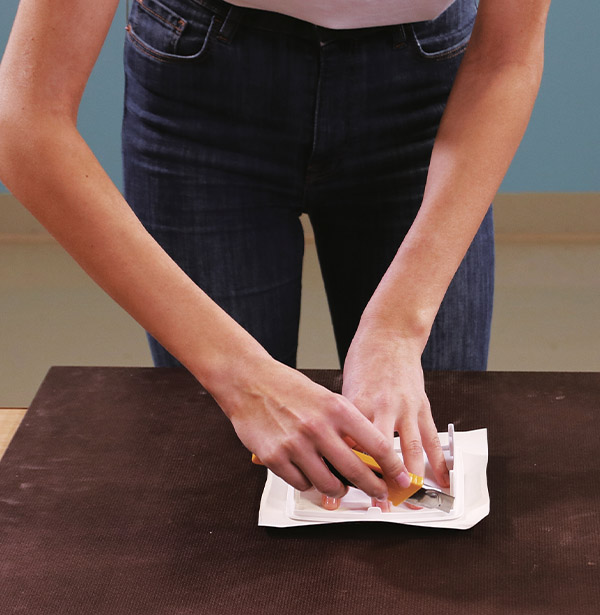
Cut off the excess wallpaper
Cut off the excess wallpaper with a sharp blade so that the edges of the cover look neat. Cut carefully so that the wallpaper does not tear.
Painting the VILPE Wive
Similarly, if the white intake vent does not look good on a painted wall, you might want to paint over it. Check out our easy painting instructions:
1
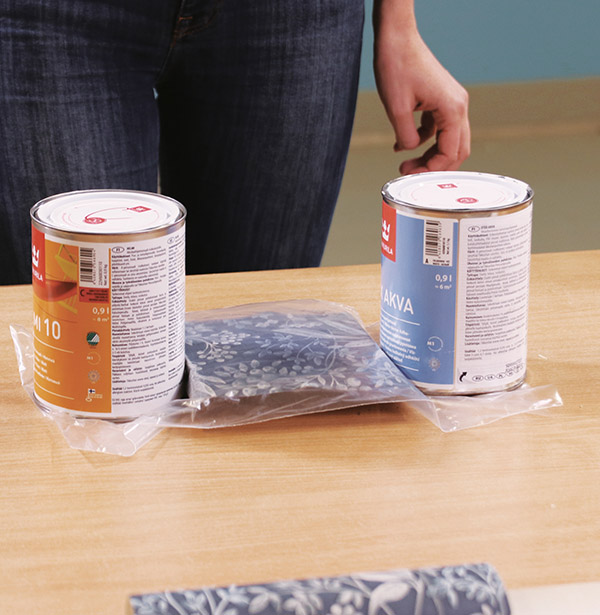
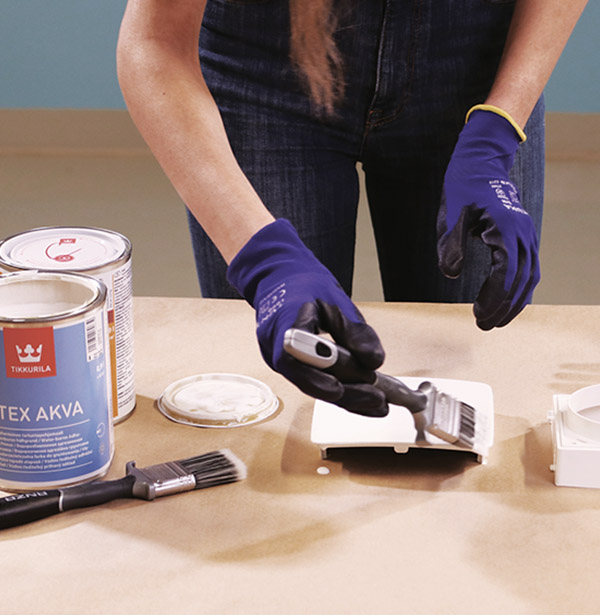
Paint the cover and housing with plastic-suitable primer
Start by purchasing a neutral, plastic-suitable primer, which will effectively prepare your Wive for its coat of coloured paint. We recommend painting both the Wive cover and housing, as the housing can often be seen behind the cover.
Before painting, wipe off any possible dirt or dust from the cover and housing. Then, carefully cover both the cover and the housing, and let the primer dry afterwards.
2
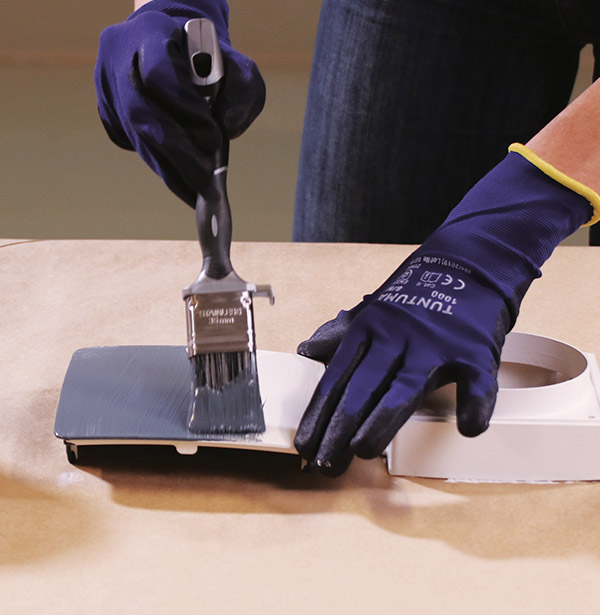
Paint the primer-covered cover and housing with coloured layer paint
When both have dried, paint the cover and housing with coloured layer paint to match the wall. We recommend two thin coats, allowing time for drying after each.
Filter change
Changing the filter is easy and can be done in less than a minute. No tools are needed. A dirty filter will not work properly, and therefore needs to be changed every six months. The filter is not washable.
1
Open the intake vent cover
You do not need to remove the cover completely; it is enough that you are able to remove the filter assembly.
2

Take out the old filter
Click the intake vent open and carefully pull the old filter out.
Pull the filter fabric off of the supports. The old filter is energy waste and cannot be washed or re-used.
If the thermostat and silencer are dirty, wipe off the dirt using a damp cloth.
3
Attach the new filter
If the filter has a silencer, place it on the round plastic part. The silencer has been placed correctly when the lighter-coloured side faces inwards.
Carefully pull the new filter over the support structure and secure it with a rubber band. The correct place for the rubber band is the inset of the metal parts, not the plastic part.

4
Insert the filter assembly
Insert the filter assembly back into place. Make sure you hear a clicking sound: this is a sign that the intake vent has been properly attached.
Finally, put the cover back in place.